REVIEW · SANTA FE
2-Hour Photography Class While Touring Downtown Santa Fe, Smart Phones Welcome!
Book on Viator →Operated by David Hoptman · Bookable on Viator
Santa Fe makes every photo better. This 2-hour class turns the downtown area into a hands-on photo lesson, with smartphone-friendly coaching and a simple Snapseed editing walkthrough so you can make stronger images fast. One thing to keep in mind: this isn’t built like a long sightseeing tour; it’s focused on technique and getting shots, so if you want hours of pure wandering, you may feel short-changed.
I like that you start right where Santa Fe is most photogenic—near East San Francisco Street and Lincoln Avenue—and you work through the plaza zone, including museums, parks, and a stop connected to the classic La Fonda hotel. Instruction runs through the full session, so you’re not just collecting views; you’re learning how to see, frame, and improve what you capture.
In This Review
- Key things to know before you shoot
- Meeting at East San Francisco Street and Lincoln Ave
- What “downtown Santa Fe” looks like in a 2-hour photo class
- Your first skill jump: composition, positioning, and “slow down” practice
- Adobe architecture and desert light: how to get color without fighting it
- Portraiture skills you can use on vacation (even if you’re not a photographer)
- Low-light and lens choice: the practical stuff that saves bad shots
- Smartphone vs DSLR: what you can bring and how instruction fits both
- Editing in Snapseed: your second “half-class” for real results
- Insider context as you shoot: history and culture without the lecture
- Price and value: what $85 buys (and what to plan for)
- Who should book this class in Santa Fe
- Should you book this Santa Fe photo class?
- FAQ
- How long is the Santa Fe photography class?
- Where does the class start?
- What time does it start?
- Is this class for smart phones or cameras?
- Do we use an editing app during the class?
- Is there a photo walk of downtown Santa Fe?
- Is it a private tour?
- What is the cost and is tax included?
- Is weather important for this experience?
- What are the cancellation terms?
Key things to know before you shoot
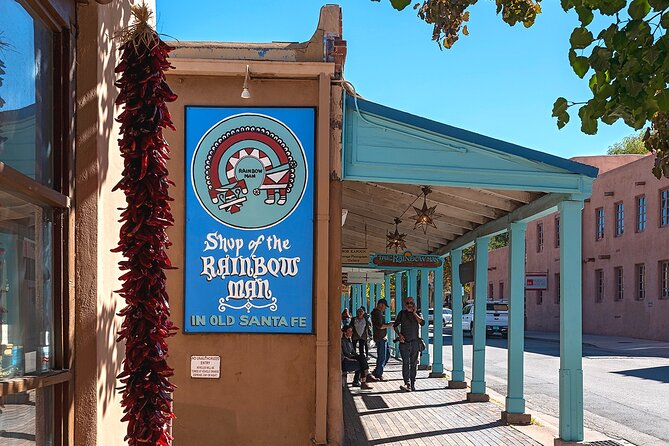
- Smart phones welcome: Bring your iPhone or Android, or bring a DSLR—both are part of the plan.
- Two beats to the class: Shooting practice outdoors first, then an editing session using Snapseed.
- Downtown plaza focus: You’ll cover the most important downtown photo areas, not every street in Santa Fe.
- Coach named David Hoptman: A trained photographer and longtime Santa Fe resident leads the instruction.
- Practical photo skills: Expect guidance on composition, portrait setup, low-light shooting, and lens choices.
- Editing for real life: You’ll learn an easy workflow so your photos look better right away.
Meeting at East San Francisco Street and Lincoln Ave
The experience meets at East San Francisco Street & Lincoln Avenue (near the Santa Fe plaza area). It starts at 11:30 am, and the session ends back at the same starting point.
Why that matters: timing and location set the tone. Late morning in Santa Fe can still give you flattering light—good for adobe color and street scenes—without the harsh shadows you get midday. Also, meeting near the action means you waste less time with logistics and more time actually practicing.
You’re in a private setup, meaning your group is the only one taking the class. That’s a quiet advantage if you want to ask questions without waiting your turn or trying to catch instructions while other people shoot.
You can also read our reviews of more tours and experiences in Santa Fe.
What “downtown Santa Fe” looks like in a 2-hour photo class
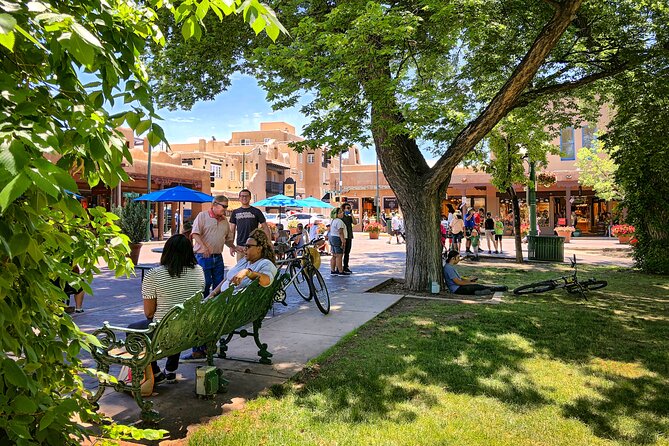
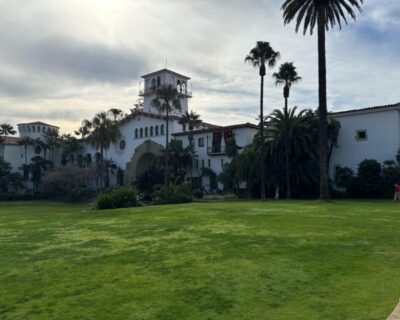
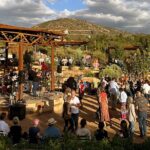
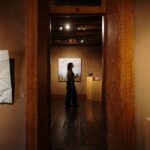
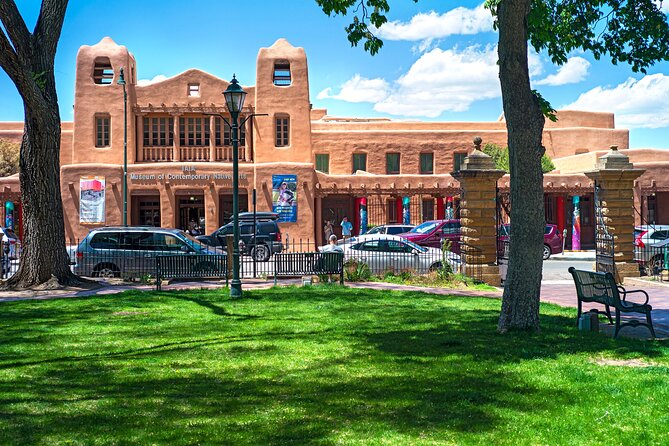
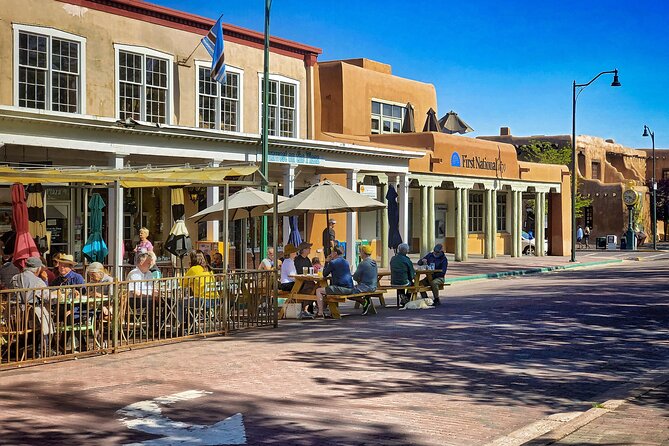
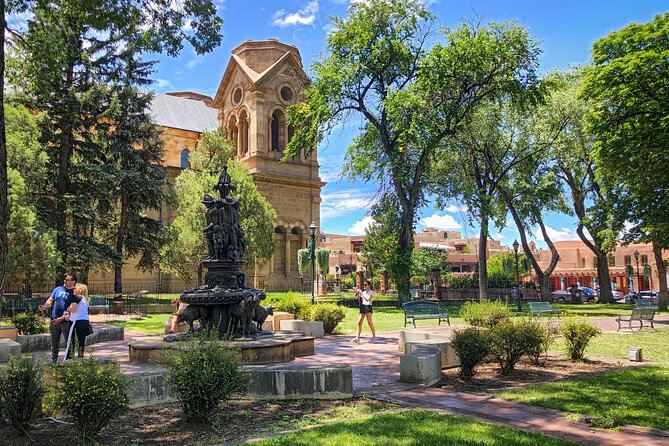
This class is built around the downtown plaza region and the walkable stretch nearby. You’ll go through the plaza area and related spots like museums and parks, and you’ll also visit the historic La Fonda hotel area as part of the photo route.
Here’s the useful way to think about it: you’re not chasing a far-flung itinerary. Instead, you’re learning how to photograph a small region well. That’s often what makes travel photos look real—strong framing and consistent thinking, not just lots of stops.
What you’ll do while you’re walking:
- You’ll get instructions before you shoot.
- You’ll stop at good angles and practice what you were taught.
- You’ll be shown how to adjust your position and your camera settings (or phone approach) to get a better image.
A fair warning: the class is more photo lesson than guided history stroll. You do get insider context along the way, but the main focus is how to make photographs, not how to cover every landmark in depth.
Your first skill jump: composition, positioning, and “slow down” practice
Santa Fe is photogenic. The trick is making your photos look like you were there on purpose, not just passing through. This class attacks that with practical composition coaching and hands-on practice right from the start.
You’ll work on a few core ideas repeatedly:
- Where you stand matters as much as what you point at.
- Framing isn’t accidental; it’s a choice you make in the moment.
- Taking a good shot takes time—so you train yourself not to multitask while you shoot.
One of the best takeaways from the class vibe is the mindset shift. You’re guided to slow down enough to notice angles, lines, and background relationships. That’s especially helpful around the plaza, where it’s easy to get distracted by crowds, colors, and signage.
If you’re someone who usually shoots quickly and moves on, you’ll likely feel your photos improve simply because you’ll start thinking before you press the button.
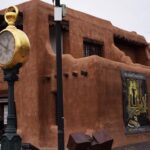
Adobe architecture and desert light: how to get color without fighting it
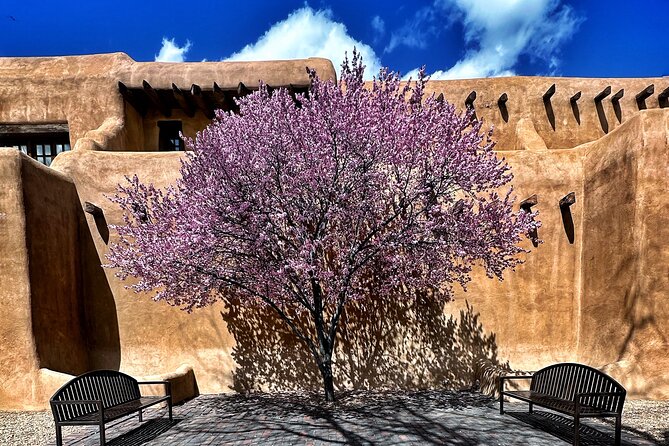
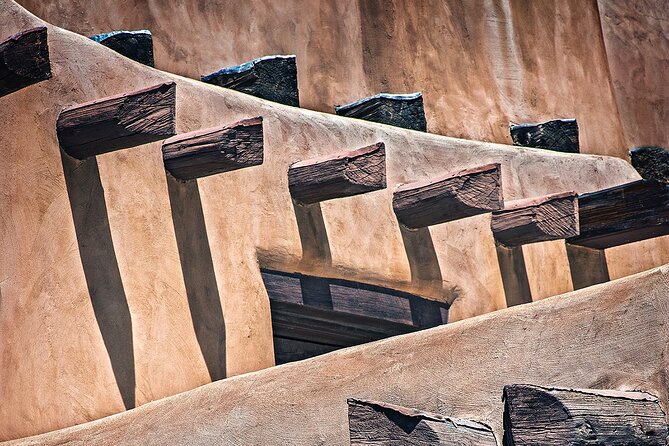
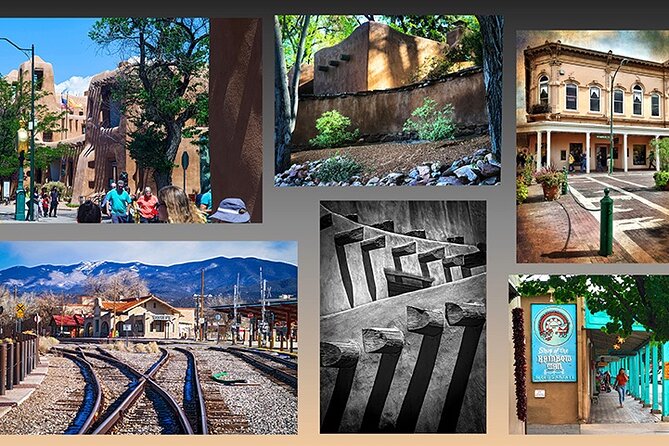
Santa Fe’s adobe buildings can look dramatic in photos, but they can also fool your camera settings. Bright light can blow highlights; shadows can crush detail. Part of the class value is learning how to handle that real-world contrast instead of guessing.
You’ll get guidance tailored to architectural scenes and streetscapes, including:
- How to approach adobe textures and shapes so they look intentional, not flat
- How to use natural light and simple timing choices to make colors look right
- How to find strong visual geometry when you’re photographing building walls, doorways, and street angles
This matters because many people arrive with a great location and a mediocre method. A short class like this helps you develop a repeatable approach. You’ll start noticing things like leading lines, doorway frames, and where the light lands on surfaces.
Portraiture skills you can use on vacation (even if you’re not a photographer)
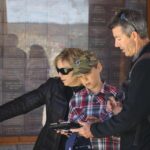
The class doesn’t only focus on buildings. You’ll also learn portrait-related basics—how to position people and how to think about the background while you shoot.
This is one of the places where a dedicated teacher helps. Santa Fe streets offer a lot of visual noise—signs, passersby, and busy edges. With coaching, you learn how to pick angles and backgrounds so your subjects don’t get swallowed.
What you’ll practice is simple and transferable:
- Where to stand relative to your subject
- How to aim so the background supports the photo instead of competing
- How to use portrait framing ideas whether you’re using a camera or a phone
It’s also a good fit if you’ve ever struggled with vacation portraits that turn out blurry, too dark, or just plain awkward. The class aims to make your portrait results more consistent in the kinds of lighting Santa Fe actually gives.




Low-light and lens choice: the practical stuff that saves bad shots
One of the workshop topics is low-light shooting and lens choice (for camera users). Even if you don’t plan to shoot at night, low-light tips help during early shade, evening strolls, and interior-looking scenes.
Here’s why you’ll care: Santa Fe has long shadows, and the downtown plaza area includes spots where light changes quickly. If you know how to adjust—staying aware of exposure and your shooting settings—you won’t end up with the classic vacation problem: a photo that looks fine on the screen for a second and then disappoints when you check later.
Even phone users can benefit because the class approach is about thinking through what the camera (or phone) is doing. That turns into better results for:
- dim streets and shaded corners
- indoor-adjacent scenes
- golden-hour transitions you didn’t plan for
Smartphone vs DSLR: what you can bring and how instruction fits both
The class is explicitly built for smart phones and digital cameras. That’s a big deal because many photo workshops assume you have expensive gear or a specific model of camera. Here, you can bring what you already own.
You’ll get tips on how to use your device features—so you’re not just told to point and shoot. For phone shooters, that often means learning the basics of how the phone responds to light and how to frame while controlling what ends up in the image.
If your phone is older, it’s still worth showing up. The instruction is patient and practical, focused on making your shots better with the tools you have, not on pushing you toward a new device.
Editing in Snapseed: your second “half-class” for real results
The second part of the session shifts into editing with an easy-to-learn app: Snapseed. You’ll use it as the class workflow tool, which is a real advantage because you learn one system deeply enough to actually use it later.
Based on how the session is run, the class moves indoors after the outdoor practice. That indoor time matters because you can concentrate on editing steps without rushing between sunny angles and shadows.
What you learn here usually does two things:
- It demystifies editing, so you stop feeling like you need to be an expert.
- It gives you a repeatable method you can apply back at your hotel the same day.
In plain terms, you’ll learn how to turn a decent Santa Fe photo into something that looks more like what you saw: improved color balance, better contrast, and cleaner framing after the fact.
If you’ve ever taken a great shot but felt disappointed once you loaded it onto your phone, this portion is exactly what you want.
Insider context as you shoot: history and culture without the lecture
You do get city context along the way. Instead of a long lecture, you’ll get small, useful bits tied to what you’re photographing—Santa Fe history and culture that connects to the way buildings look, how the plaza functions, and why downtown feels the way it does.
This style is handy on vacation. You’re learning while you’re actively shooting, so the information sticks. It also helps you avoid the tourist trap where you photograph random pretty things but miss the meaning behind the place.
The class covers enough culture to enrich the images, while still keeping the session moving toward your photos and your editing.
Price and value: what $85 buys (and what to plan for)
The price is $85 for the 2-hour experience, and taxes are listed separately (shown as $7.00 per traveler). So you should budget a bit more than $85 total.
Is it worth it? For me, the value comes from a mix of three things you get in one package:
- a real shooting lesson focused on composition and practical camera/phone technique
- a structured route through the downtown plaza area and a notable hotel stop
- a concrete editing workflow using Snapseed, taught in a teachable way
If you’re the kind of traveler who likes to return home with a folder of photos you’re proud to share, this is a strong spend. If you already know your camera deeply and hate instruction, you might find the session more basic than you want. And if you’re chasing long-form sightseeing with lots of time at each stop, this two-hour format may feel tighter than you expected.
Who should book this class in Santa Fe
This experience fits best if you want:
- stronger photos of Santa Fe adobe architecture, streets, and portraits
- a teach-and-practice session rather than solo exploring
- phone help, DSLR help, or both in the same class
- editing confidence using Snapseed
It can also be a great first stop on your trip. Getting a technique boost early means your later days produce better photos with less effort.
It might be less ideal if you specifically want a full guided walking tour that focuses on covering lots of sites at length. This is a photo class that also walks downtown. The walking is in service of shooting skills.
Should you book this Santa Fe photo class?
If you’re excited by the idea of learning how to see Santa Fe with a camera or phone, I’d book it. You’re paying for real instruction: composition, positioning, portrait basics, low-light thinking, and an editing workflow you can use immediately.
Do consider one thing before you go: this is two hours. It’s enough time to make a noticeable improvement, but it won’t replace a long guided history tour. If you want both, consider pairing the class with an evening stroll or a longer museum visit later in your trip.
My practical advice: bring your phone (even if you think it’s not great) and bring your camera if you have one. Come ready to shoot, to practice, and to edit the images you actually take.
FAQ
How long is the Santa Fe photography class?
It’s about 2 hours.
Where does the class start?
The meeting point is East San Francisco Street & Lincoln Avenue in Santa Fe.
What time does it start?
The class starts at 11:30 am.
Is this class for smart phones or cameras?
Both are welcome. You can bring your smartphone, a digital camera, or both.
Do we use an editing app during the class?
Yes. The class includes an editing introduction using Snapseed.
Is there a photo walk of downtown Santa Fe?
Yes. It includes a photo walking tour through the downtown plaza area, with stops for shooting and instruction, and it also covers the downtown area around key points.
Is it a private tour?
Yes. It’s described as private, with only your group participating.
What is the cost and is tax included?
The price is $85, and taxes are listed as $7.00 per traveler.
Is weather important for this experience?
Yes. It requires good weather. If it’s canceled due to poor weather, you’ll be offered a different date or a full refund.
What are the cancellation terms?
You can cancel for a full refund if you do it at least 24 hours before the experience’s start time. If you cancel less than 24 hours before, the amount paid is not refunded.